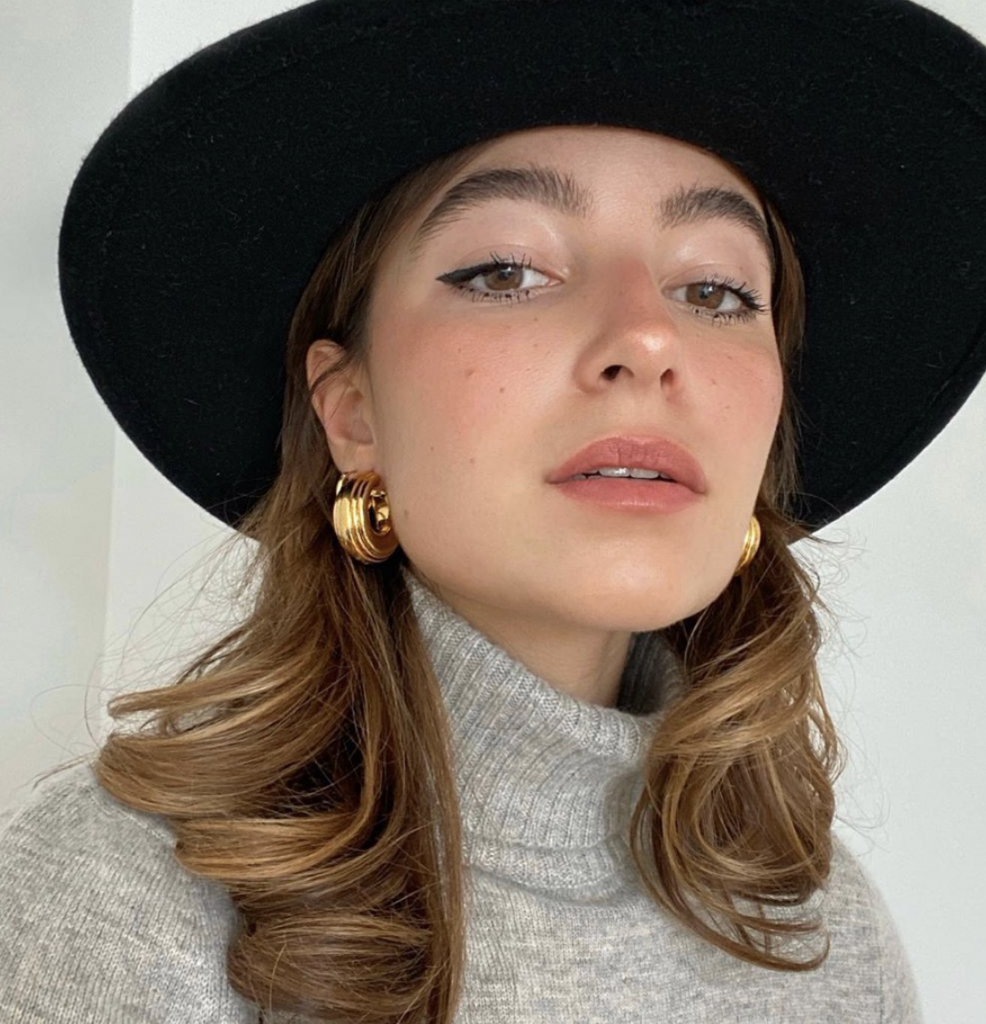
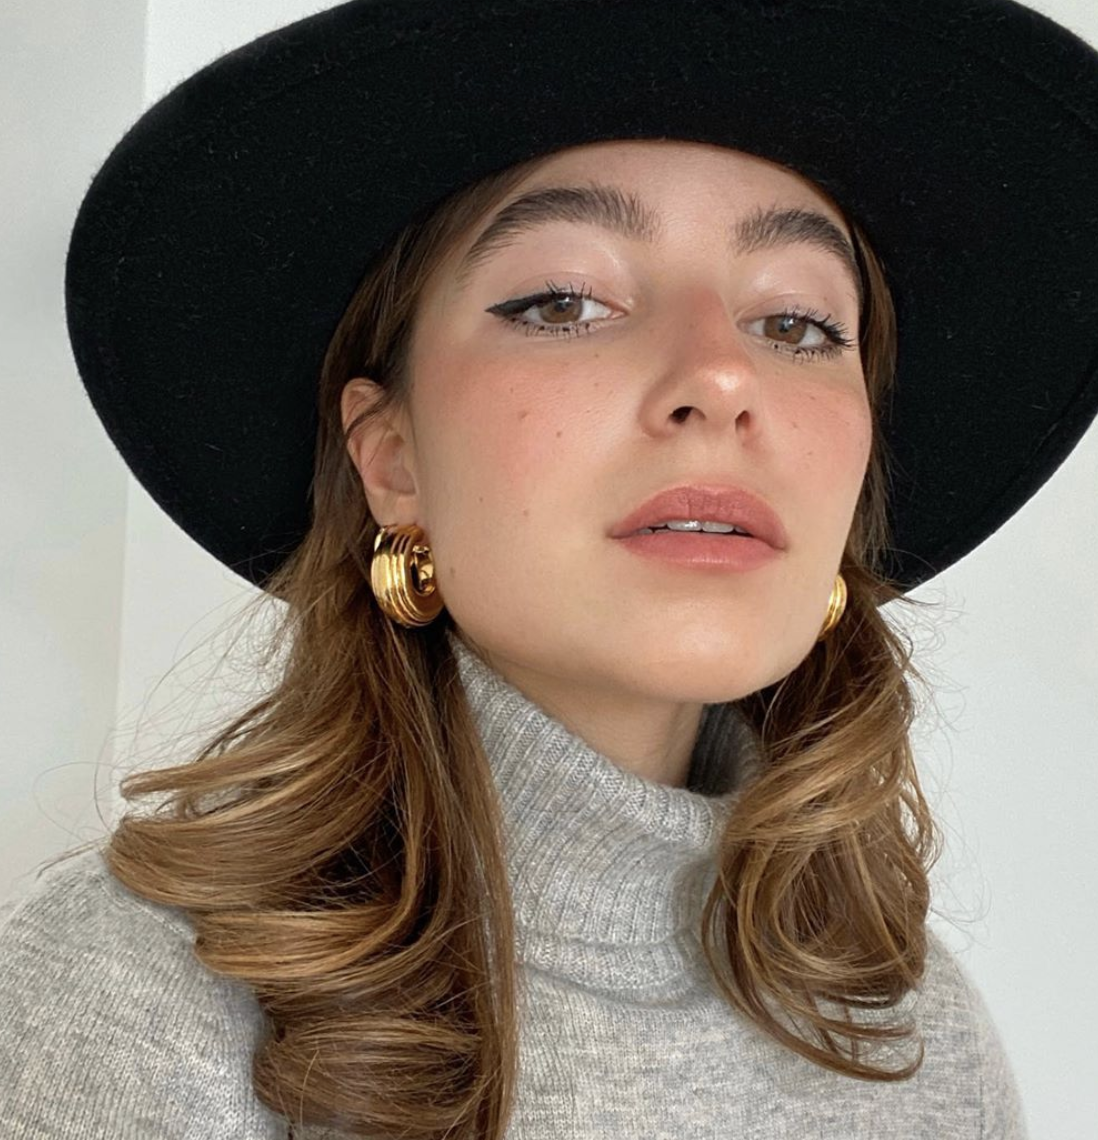
Can’t get to the beach? No problem – you can get that sand-and-sea beachy wave anytime at home with your curling iron or flat iron. It takes a little practice, but once you get the hang of it, gorgeous, voluminous waves are yours even if you have fine or limp hair.
Start With Clean Dry Hair
Before you do anything, wash and dry your hair completely. This is the foundation for any kind of heat styling, so don’t skip it!
This is especially true if you want to keep those curls for a few days. You can spritz some dry shampoo on your roots to keep them from getting too greasy and keep your pretty waves a little longer before washing them out.
Brush Thoroughly and Apply Heat Protectant
Once you’re ready to start curling, brush your hair to get out any knots or tangles. Then, apply heat protectant evenly across all strands to help minimize damage and keep your locks shiny and healthy.
Beach Waves With a Curling Wand
For best results, use a 1” (~25mm) or 1 ¼” (~32mm) curling iron or wand. Both cylindrical and conical wands work perfectly well. You can even use a bubble curling wand.
Remember, you are aiming for flowy waves, so you don’t want to use too narrow a diameter or else you’ll get tight curls instead.
To start, section the top half of your hair and clip it up, away from your face and neck. You’ll be curling the bottom layer first and working your way up.
Turn your curler on and set it to the appropriate temperature for your hair. (Use a lower temperature setting on fine or thin hair to prevent damage.)
Take a 1” section from either side of your face, hold the wand so the tip faces downwards, and start wrapping near your scalp around the base of the barrel down towards the ends. Hold in place for 5-10 seconds.
If your hair is coarse or style-resistant, spray a bit of flexible-hold hairspray onto each section and comb through before wrapping around the rod.
Gently release the curl into your palm and let cool for a few seconds before letting it go. Continue on like this until you’ve completed the bottom layer. Then unclip the top portion and curl that section with the same technique until you’re done.
Tip: Wrap the hair around your face away from your face. This will make those layers frame your face nicely like a Victoria’s Secret Angel.

Beach Waves With a Flat Iron
If all you have in your hair styling arsenal is a flat iron, don’t despair! You can still get gorgeous beach waves using a hair straightener too.
In fact, many women prefer using a flat iron to a curling iron for creating curls and waves. The nice thing about it is you can both straighten and curl your hair at the same time, saving you an extra step if you normally straighten before curling.
Once again, you’ll want to start by sectioning your hair as described above and use 1” portions at a time.
Once your iron is heated, clamp a section between the plates near your head, then turn the whole thing 180° so the front plate faces backwards. At this point, your hair will be wrapped around one side of the iron.
Pull the iron down with your strands wrapped around the housing as you glide the length through the plates. Be careful not to press the plates together too tightly or you won’t be able to pass your strands through smoothly.
Finally, for a more boho, modern wave, don’t curl your ends. Straighten the last inch or two with the flat iron so they look more natural and effortless.
Finish With Hairspray or Sea Salt Spray
Once you’ve finished curling, let your hair cool and set before tousling or finger combing. For extra hold, lift and use some hairspray between layers before breaking them up a bit.
Alternatively, you can use a sea salt spray instead to give your locks more texture for that true summery, beachy feel.
Et voilà! Sexy, beautiful beach waves any day of the year.
author: Emma Lee


